> ## Documentation Index
> Fetch the complete documentation index at: https://developer.voyado.com/llms.txt
> Use this file to discover all available pages before exploring further.
# Contact CSV import
This is the structure of an example row in your CSV file:
| firstName | lastName | email | mobilePhone | street |
| --------- | ----------- | ------------------------------------------------- | ------------ | ---------------- |
| Example | Examplesson | [example@example.com](mailto:example@example.com) | +46739111111 | Examplegatan 123 |
Read more about the manual import of contact data [in this guide](https://help.engage.voyado.com/hc/en-gb/articles/17245851011612-Import-contact-data-manually-to-Engage).
You'll need to check your contacts data before importing it to Engage, to avoid problems later on. Read about the preparation process for a CSV import of contacts [on this page](https://help.engage.voyado.com/hc/en-gb/articles/17245864400924-Prepare-your-file-for-import).
You can download examples as CSV and Excel [on the example files page](/docs/file-based-transfer/example-files).
## Splitting your contacts CSV file
If a contacts CSV file has more than 50 000 records, you should split it into several files before importing them into Engage.
One way to do this is using a python script like this one:
```python expandable theme={null}
import csv
import os
def create_batches(input_file, output_folder, batch_size):
# Create output folder if it doesn't exist
if not os.path.exists(output_folder):
os.makedirs(output_folder)
with open(input_file, 'r', newline='') as csvfile:
reader = csv.reader(csvfile)
header = next(reader)
batch_number = 1
batch_count = 0
output_csv = None
for i, row in enumerate(reader):
if i % batch_size == 0:
if output_csv:
output_csv.close()
output_file = os.path.join(output_folder, f'batch_{batch_number}.csv')
output_csv = open(output_file, 'w', newline='')
writer = csv.writer(output_csv)
writer.writerow(header)
batch_number += 1
batch_count = 0
writer.writerow(row)
batch_count += 1
if output_csv:
output_csv.close()
if __name__ == "__main__":
input_file = 'sample_data.csv' # Here enter your CSV's file name
output_folder = 'output_batches' # Here write the output folder
batch_size = 50000 # Here enter the number of rows per batch
create_batches(input_file, output_folder, batch_size)
```
To use this script, do the following:
1. Make sure that Python 3 is installed on your computer.
2. Create a folder containing an empty text file called "script.py".
3. Copy the code above and paste it into that file.
4. Place the CSV you want to split into the same folder.
5. Open Command Prompt on PC (terminal in Mac) and navigate to this folder.
6. Run the script using the command "python script.py".
7. Now a folder should be created containing your files.
8. Take these files and import them into Engage.
## Importing your files
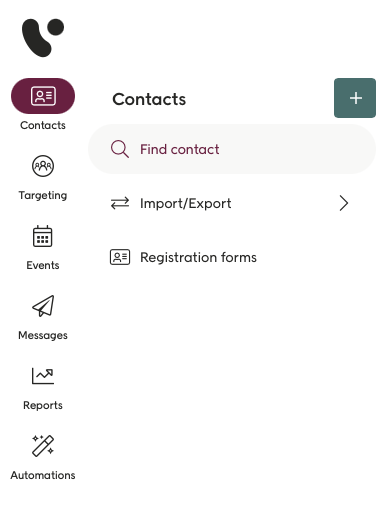
In the Engage frontend go to **Contacts** then **Import/Export** and then **Import**.
 You'll now see this page.
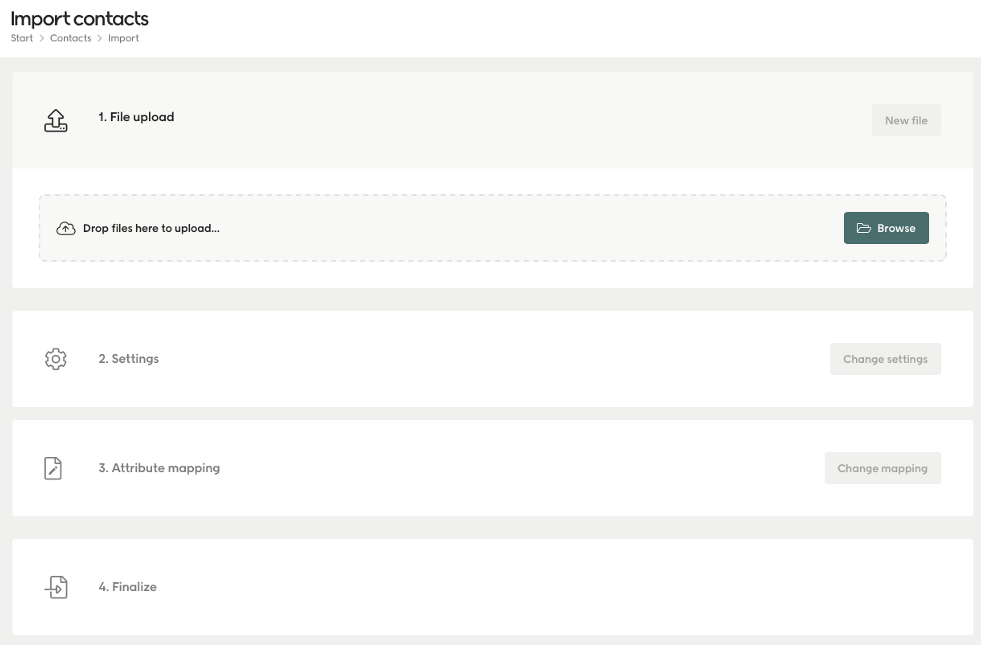 )
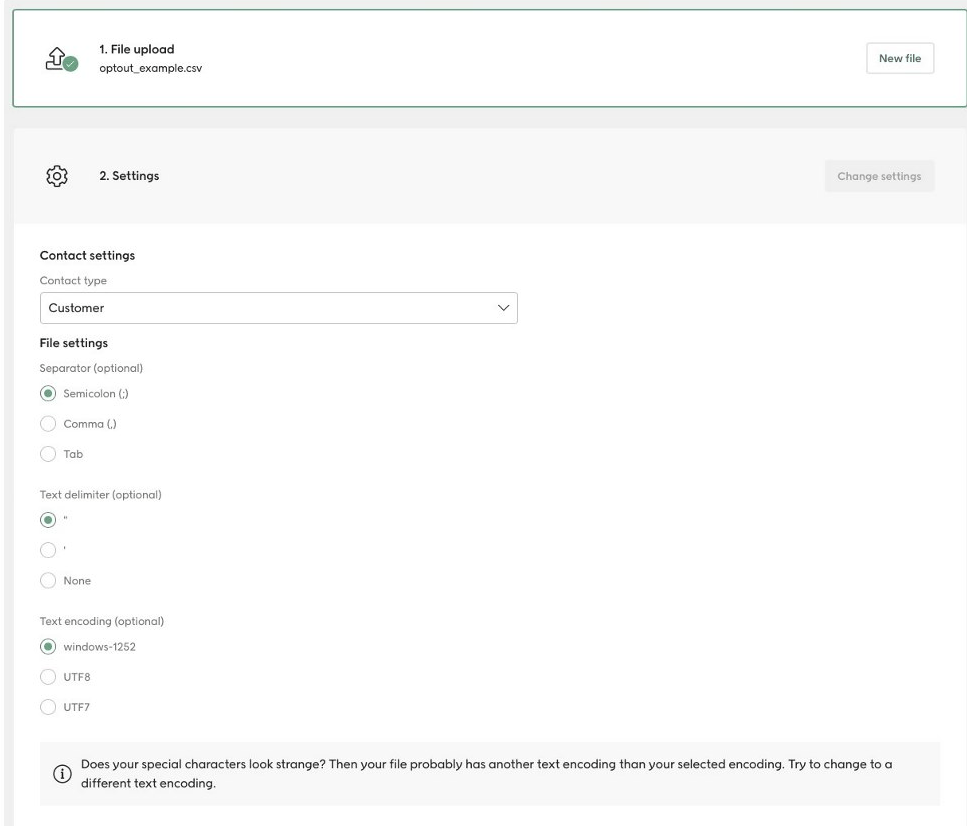
Hit "Browse" and select your CSV file. You can also drag-and-drop your file here.
Choose your contact type, separator, delimeter and encoding:
)
Hit "Browse" and select your CSV file. You can also drag-and-drop your file here.
Choose your contact type, separator, delimeter and encoding:
 )
Make sure the attributes (the columns in your file) are matched to the attributes correctly.
You will be now presented with three import options.
)
Make sure the attributes (the columns in your file) are matched to the attributes correctly.
You will be now presented with three import options.
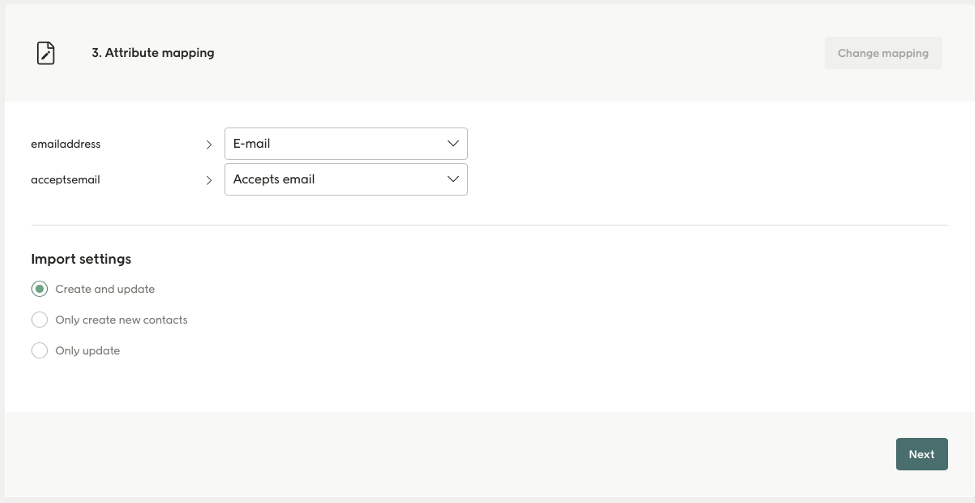 )
* **Create and update:** If you're importing new contacts or a mix or old and new.
* **Only create new contacts:** If you're sure you're just creating new contacts.
* **Only Update:** If you're sure you're only updating existing contacts.
Choose your import and hit "Next":
)
* **Create and update:** If you're importing new contacts or a mix or old and new.
* **Only create new contacts:** If you're sure you're just creating new contacts.
* **Only Update:** If you're sure you're only updating existing contacts.
Choose your import and hit "Next":
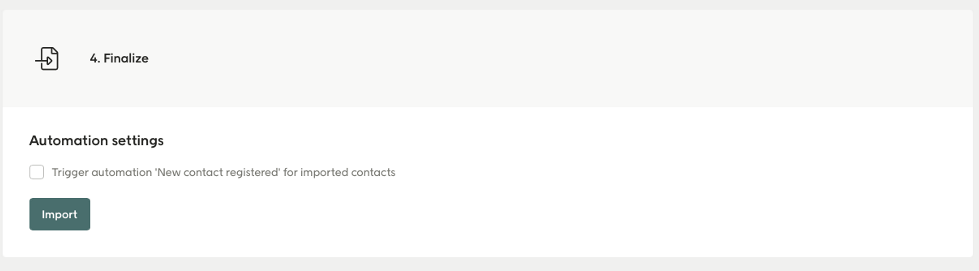 )
Now select "Import" to start your CSV import.
Obviously you'll need to repeat this for every individual contacts CSV file you have.
)
Now select "Import" to start your CSV import.
Obviously you'll need to repeat this for every individual contacts CSV file you have.