Custom trigger
You'll need to create a custom automation trigger to use the Lipscore integration with Engage. This trigger can be set up in the Engage configuration area. Once you have access to the configuration area, follow the steps below.
Select “Create custom trigger“.
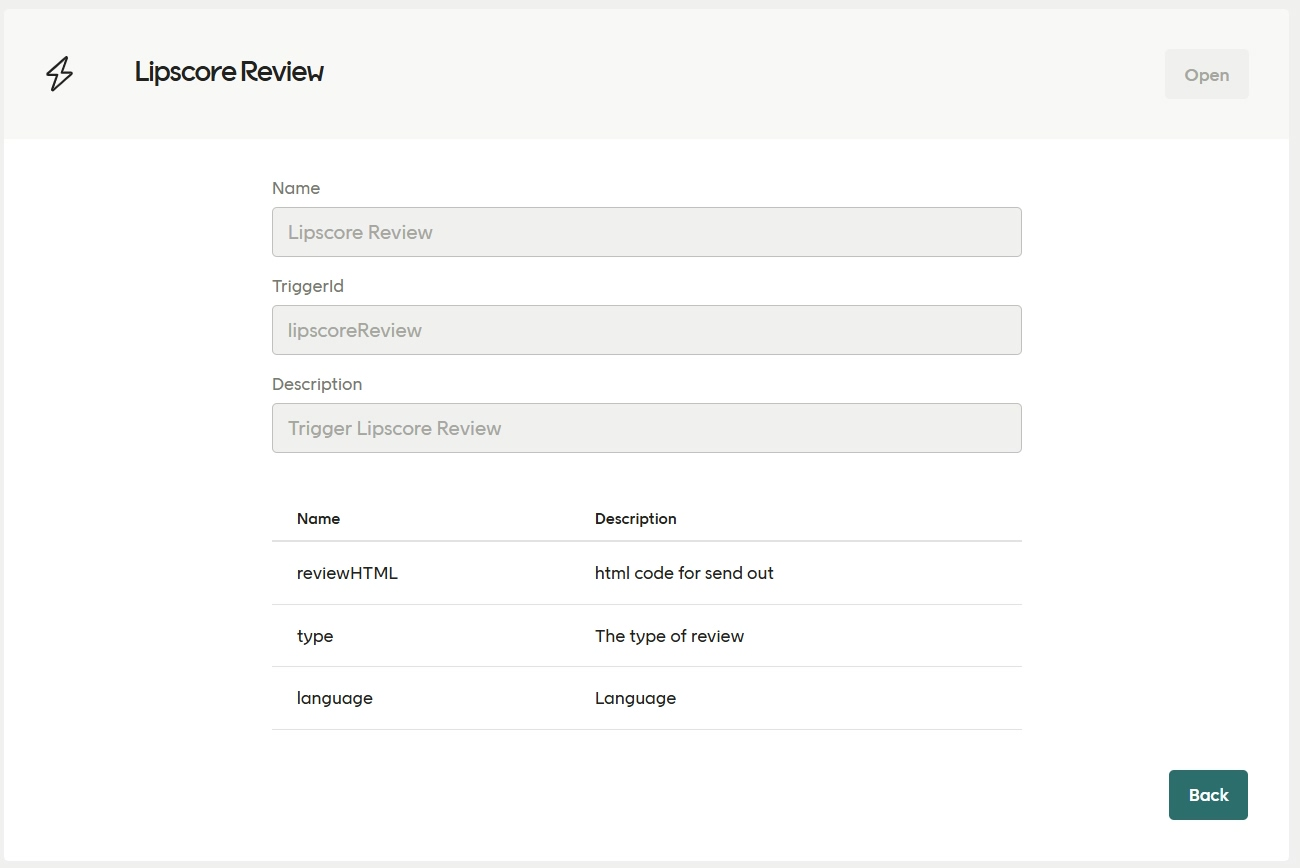
Enter Name, TriggerId and Description for your custom trigger.
Name: A human readable name, show in the Engage UI
TriggerId: The unique ID for this custom trigger
Description: A summary of what the trigger is used for

Important
It's important that TriggerId and Name here are correct.
Select "Next".
Now you will add the fields that Lipscore will send in the payload request. For each one, select "Add field" and then enter Name and Description as in the table. Press "Save" after each one.
Name
Description
reviewHTML
A HTML block with the relevant data, creating the look and feel for the email. Currently included are the 5 stars, a link to a landing page, and product data such as name and image.
type
Type of send-out, either "productReview" or "serviceReview"
language
Language from Lipscore (as ISO 639)
sourceName
Source name is assigned during integration by Lipscore. The usual format is “[your base store name] – [your Voyado store name]”
sourceId
Source ID is the external store ID of your Voyado store
Your custom trigger should now show up on the list of triggers when you create a new automation in Engage. It is recommended to use "type" as the entry criteria for the automation.