Vipps Benefits Configuration
To configure Engage for Vipps Benefits, follow these steps:
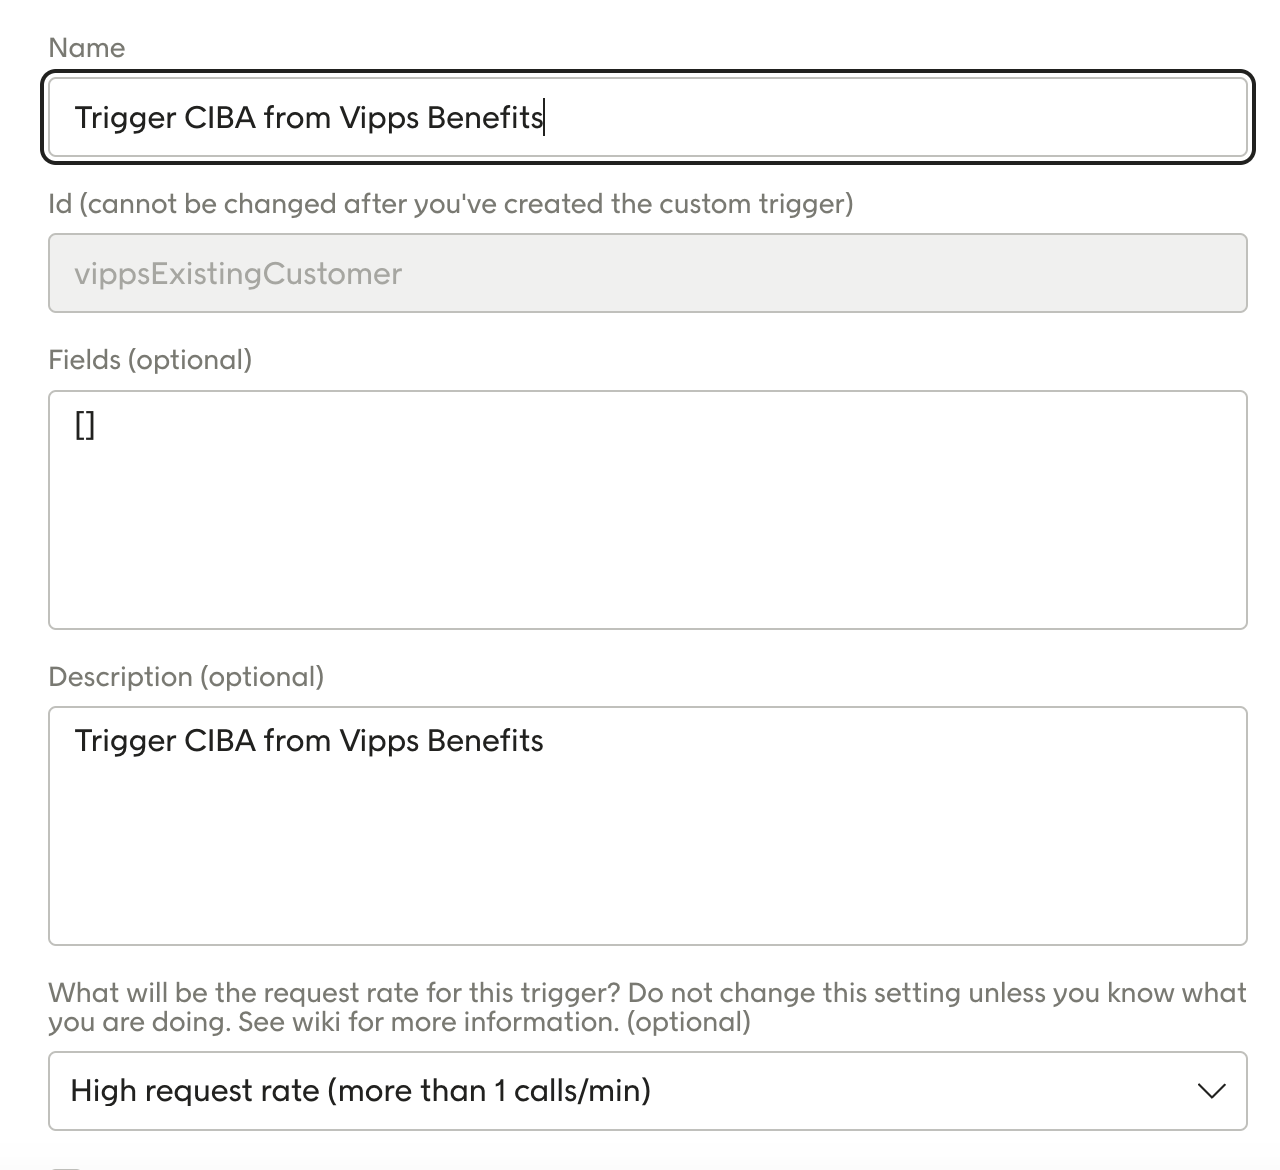
Set up a custom trigger in Engage named "vippsExistingCustomer"

Set up a store with an externalId value of "Vipps":

Create a contact type named “Vipps” with mobilePhone as mandatory key. No other data points are needed.
Add one consent with the name "vippsFordeler" and another named "vipps"

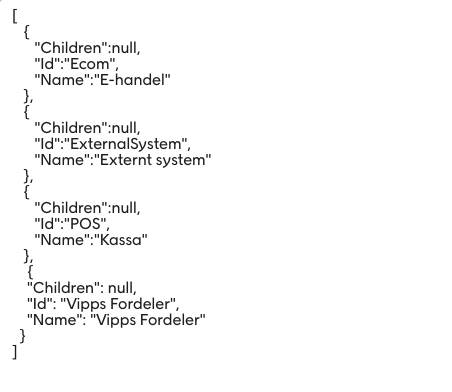
Add "Vipps Fordeler" as a source in the Engage back-end (your Voyado team will need to do this for you):

Create an automation using the "vippsExistingCustomer" trigger you added above.
Tip
Reach out to Team Integrations at Voyado if you require help with the setup.