Custom triggers
Automation triggers are used to begin an automation in Engage, based on events such as a contact making a purchase, or having a birthday, or having abandoned a cart. Custom triggers are automation triggers you can define and access over the Engage API, allowing external systems to start an automation in Engage based on whatever criteria you want.
As well as starting an automation, the data sent in a custom trigger payload can also be used as a value split to determine the path of a contact through the automation. For example, you can send the contact into the left branch if they answered "Yes" to a certain question, or into the right branch if they answered "No".
The payload data can also be used as entry criteria, deciding if a contact should enter an automation or not.
Once a custom trigger is set up, you can find it in Engage when you select "New automation". Your custom triggers will appear in the list along with the standard triggers that you can use to start an automation.
Read more about custom automation triggers here.
The Custom Triggers area
You should now see this interface. In the menu, select Custom Triggers:
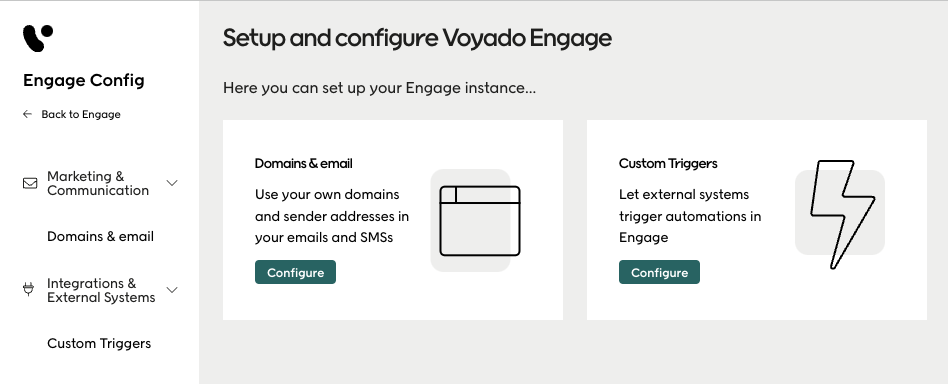
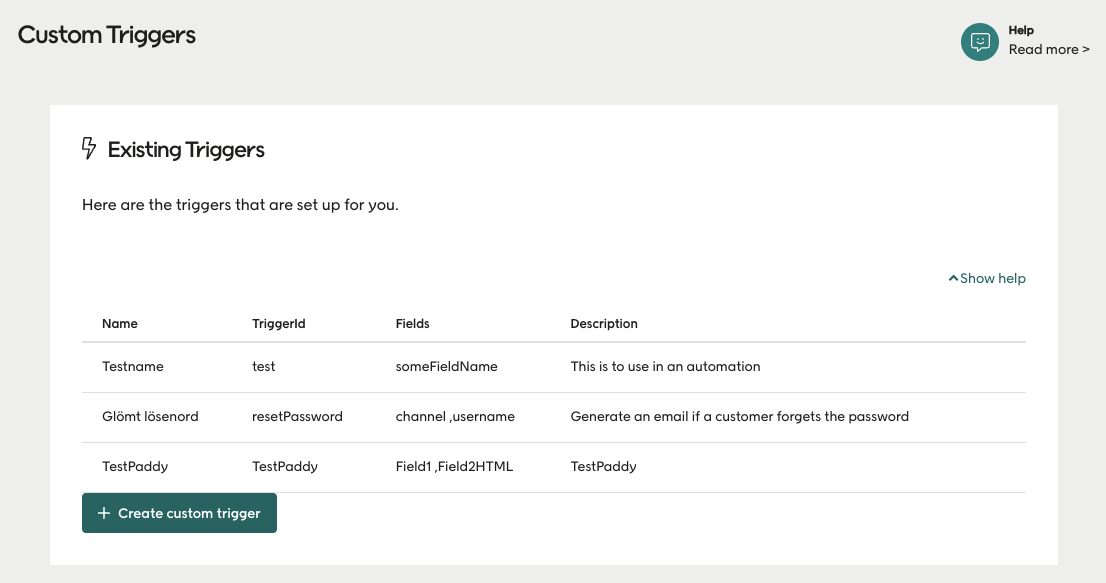
You'll first see a list of the existing custom triggers for your tenant.
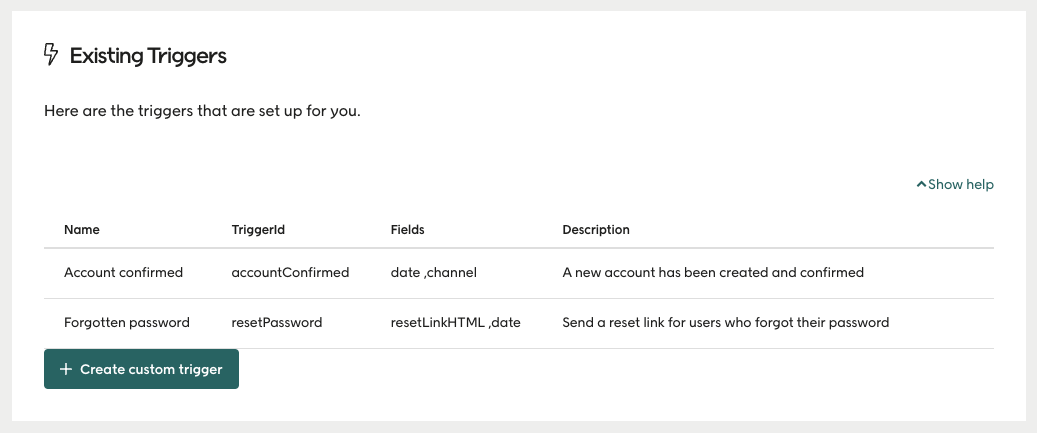
Select the eye icon to see more details for an existing custom trigger:
Creating a new trigger
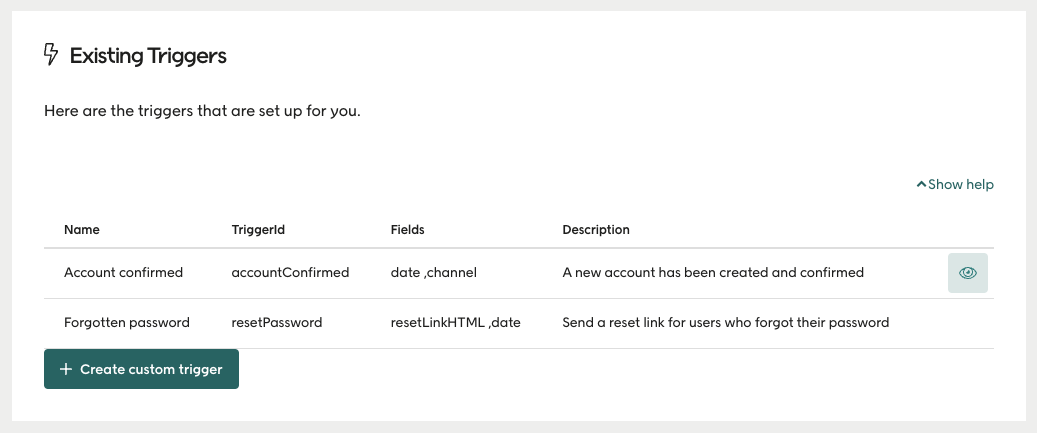
Select "Create custom trigger" to create your new trigger:
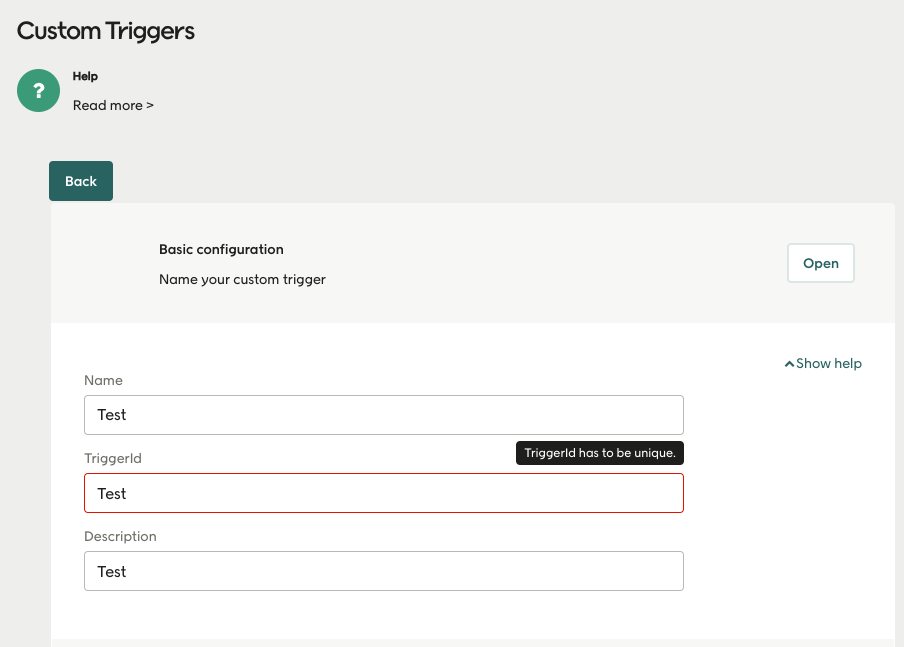
Here you'll fill in the following:
Name: This is the display name that's shown in Engage.
TriggerId: This is the unique identifier for the trigger. It is sent to Engage when triggering an automation.
Description: This text should explain the purpose of the trigger. It is displayed in the trigger overview in the Engage UI when you choose the trigger when creating a new automation.
Caution
The triggerId must be unique. You can have no other custom trigger that uses the same value for triggerId. If you try, you will get the warning as shown above and will be unable to continue until you've changed it.
Adding fields
Now you'll add the fields that are to be used in your custom trigger's payload. A field name can be used as an entry criteria to an automation, as a value split, or to present content from the payload in a send-out from Engage.
Caution
The parameters can also be used for personalizing which means that you can present the parameter values in email and sms content. Do not use an alias that is already used by Voyado contact attributes as this will create a conflict with personalization (i.e. firstName).
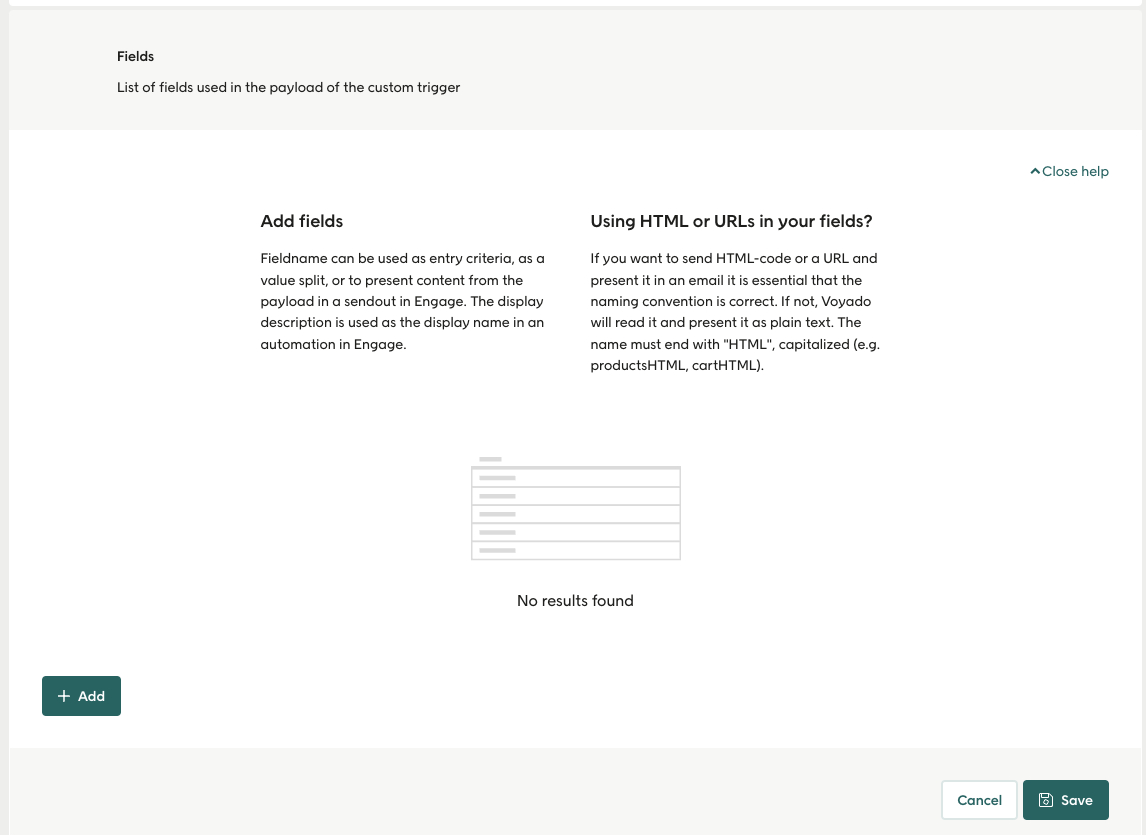
Select "Add" to add your first field. Then enter the name of the field and the description that will be shown as the field's display name in the Engage automation.
Caution
The name of a field can only contain letters and digits.
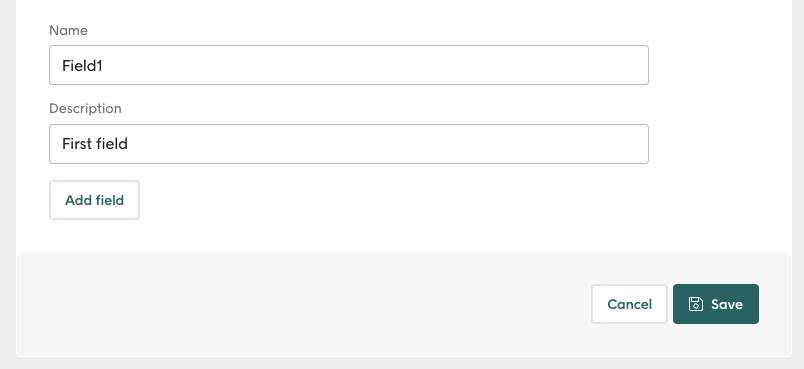
Select "Save" and your field is saved.
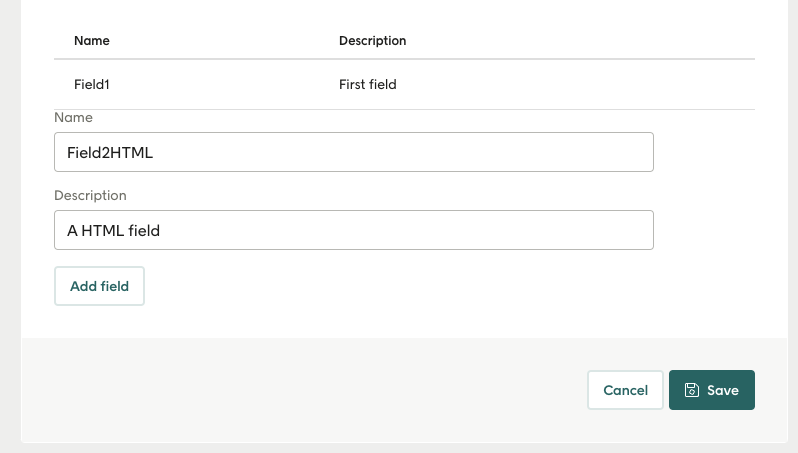
If you want the field to contain HTML code or an URL, for example for us in an email, the field name must end with "HTML". If not, Engage will just interpret it as plain text. For example, "productsHTML" or "cartHTML".
Here is an example of such a field:
Caution
Fields that you want to contain HTML code or URLs must have "HTML" at the end of their name.
Saving your trigger
Once you've added all the fields you need, select "Save" to save it. You'll see this:
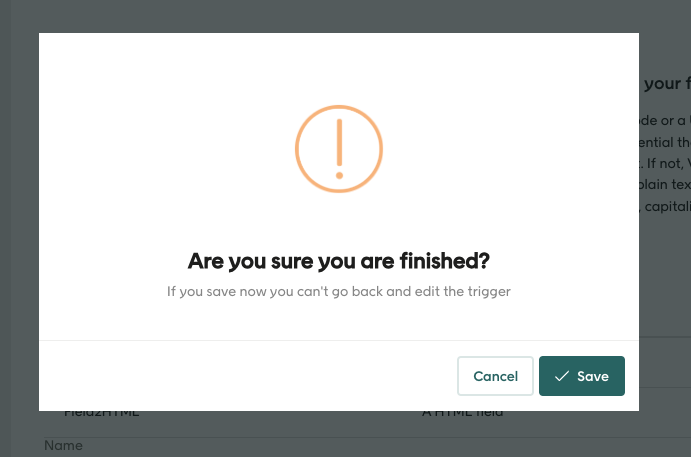
It's important to note that custom triggers can't be edited or deleted here once they've been created. Only your Voyado team with access to the Engage back-end are currently able to do this. So be sure that the values you've entered here are correct. Select "Cancel" to double-check. When you're sure everything is okay, select "Save".
Your new trigger will show up on the list of custom triggers:
Using your custom trigger
You can now use your custom trigger to start Engage automations by sending a request to one of the automation endpoints. Three of the endpoints require the triggerId along with some contact attribute. Depending on the endpoint, that's either contactId, externalId or SSN (Personal Identity Number).
The fourth endpoint depends on the configuration of your Engage account. As well as using triggerId, it requires the contactType for the contact as well as the value of the key attribute you've flagged for that particular contact type in your Engage configuration.
See all the endpoints on this example Swagger page.
Custom trigger use example
In this example case, the retailer wants to award a gift certificate to individual customers.
They first create a certificate with the unique triggerId of "giftCertificate01"
Then they set up the fields they want in the Engage config area:
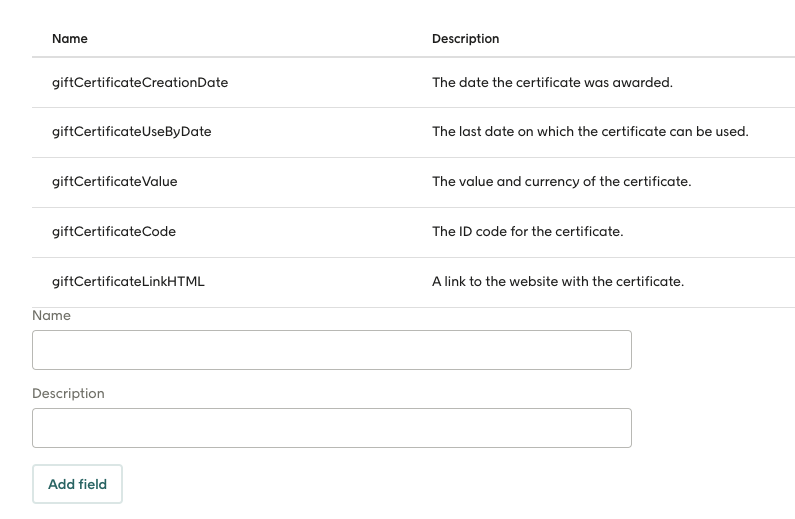
Then save the custom trigger. It's now ready to use. Since they have the Engage contactId for the customer in their system (let's say it's "1234" even though it's really going to be a 32-character GUID) they decide to use the following endpoint:
POST /api/v3/automation/customTriggers/{triggerId}/triggerByContactId/{contactId}
Putting in the values they have, the request URL for that contact will then be:
POST /api/v3/automation/customTriggers/giftCertificate01/triggerByContactId/1234
The payload in the request body will look like this:
{
"giftCertificateCreationDate":"2023-05-02",
"giftCertificateUseByDate":"2023-05-08",
"giftCertificateValue":"50.00 EUR",
"giftCertificateCode":"LOVYVIGOQ9XXXXXXXXXXXX",
"giftCertificateLinkHTML":"https://examplestore.com/dedicated/gift/ae5d33c1d64b34208xxxxxxxxxxx?id=4565"
}
Now, assuming an automation has been set up using the custom trigger "giftCertificate01", this data can be grabbed and then used in Engage.