Setup and configuration - Shopify app
Here's how you set up the Voyado Engage app to work with the Shopify POS mobile app.
Note
This involves some extra configuration added to an already functioning implementation of the Voyado Engage app for Shopify. Complete the e-com configuration and then return here for the extra configuration needed for the POS integration. Or, if your e-com configuration is already done, just go through the steps below directly.
Setting up
This is the extra configuration you'll have to do on top of the basic e-com configuration to get the POS integration working with your Voyado Engage app in Shopify.
2. Store to Country Mapping
In this step, you'll connect your stores in Engage to the location in Shopify, using the second option on the panel, Shopify POS location. The values for the first option, Shipping country, will already exist if you have already done the e-com configuration. If, however, you're doing the e-com and POS configurations at the same time, you can take these two tasks in any order.
If you've not yet filled in anything in this panel, it'll look like this:

If you've already filled in the shipping country values, the panel will look like this:
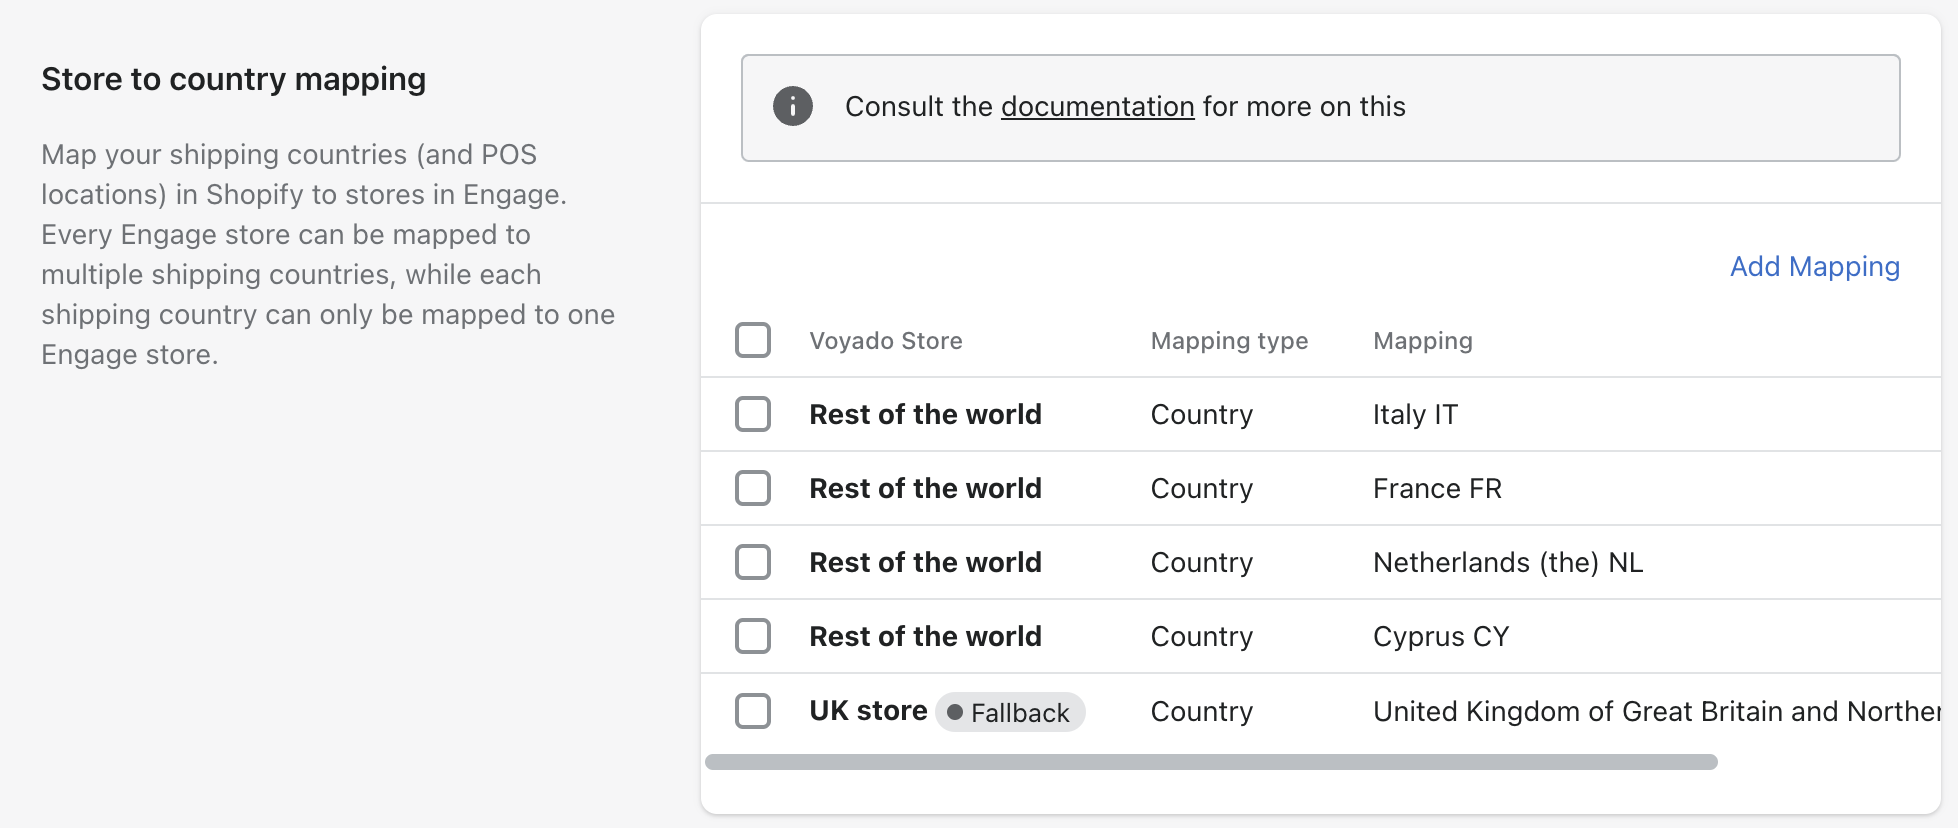
In both cases, select "Add mapping" to get started.
Now select the second option, "Shopify POS location":
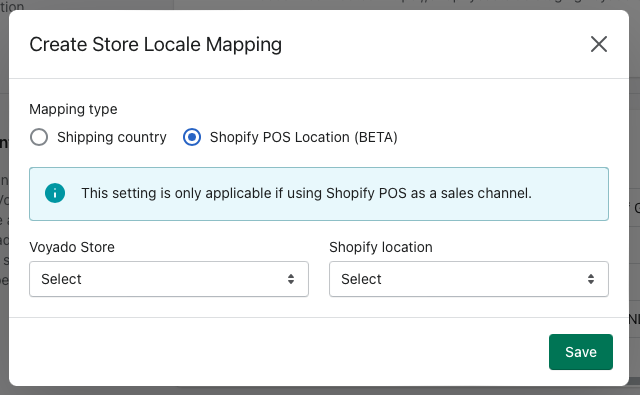
You will see two drop-downs. The first has all your Voyado Engage stores, the second your Shopify locations.
Note
Only Engage stores of type "RETAIL" will appear in the "Voyado store" list.
Select the Shopify location for each of your Engage stores. Then select "Save".
13. Promotions & reward voucher sync
To use promotions and vouchers from Engage in the Shopify POS app, you'll need to activate that here. Both promotions and vouchers from Engage are handled as different kinds of discounts in Shopify.
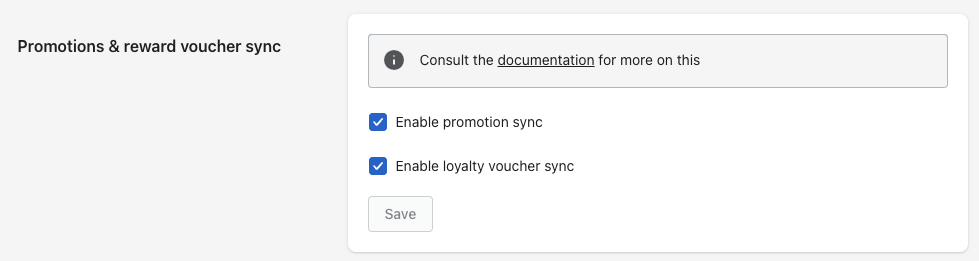
"Enable promotion sync" allows you to use Engage promotions in the Shopify POS app.
"Enable loyalty voucher sync" allows vouchers to be created in Engage and used in the Shopify POS.
Caution
To use promotions and vouchers in the basic e-com integration, you'll need to have enabled the app embed block. This, however, does not apply for the POS integration, where selecting the check-boxes in the panel is enough.
For details on using promotions and vouchers in the POS integration, see this section.
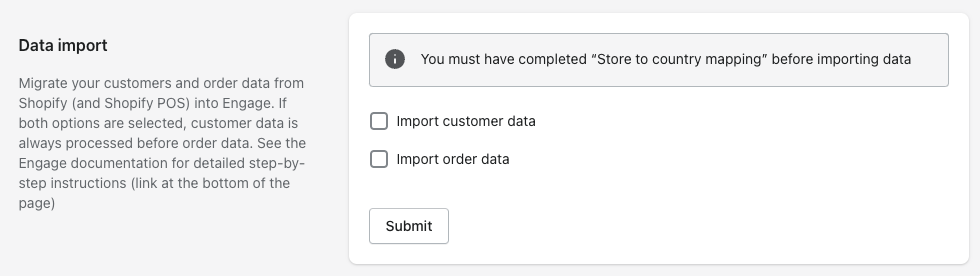
Data import
This allows you to migrate customers and orders from your Shopify account to Engage through the Voyado Engage app, enabling you to start your Engage journey with your data already in place.
If you have the Shopify POS integration with Engage, this step will migrate that data as well.
There are two cases to consider here:
Case 1 - Migrating customers from Shopify to Engage
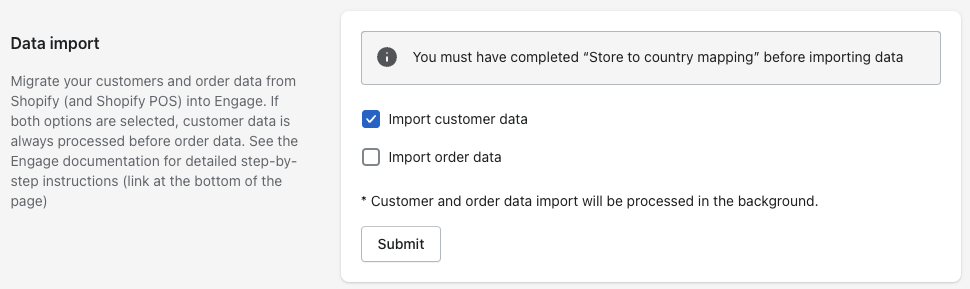
Here, you'll select the "Import customer data" options and then hit "Submit". This will migrate all your Shopify customers (and POS customers, if applicable) to Engage. If they don't already exist in Engage, they will be created there as contacts.
If a migrated customer already exists in Engage, the app will not update their data, but just fetch the contactId reference from Engage and store that in Shopify.
This app can also handle customers that were created only in Engage or imported there through other channel, such as a CSV file import, or via some other platform. This is important in the next step when migrating orders.
Important
"Import customer data" will fetch and store the contact ID of any customer who was created in Engage outside of the app.
Case 2 - Migrating orders from Shopify to Engage
This starts a migration of Shopify orders, both purchases and returns, to Engage (and POS orders, if applicable). For this to work, the customer who made the order must already exist as a contact in Engage. That's why you'll always select the "import customer data" option here. Doing this ensures that customer data is synced before orders data is migrated (as there always needs to be a customer to connect an order to).
If, for example, a customer exists in Engage but not in Shopify, the app, when matching orders to customers, will fetch the contactId reference from Engage and store it in Shopify. This is relevant for any customer data imported into Engage outside of the app.
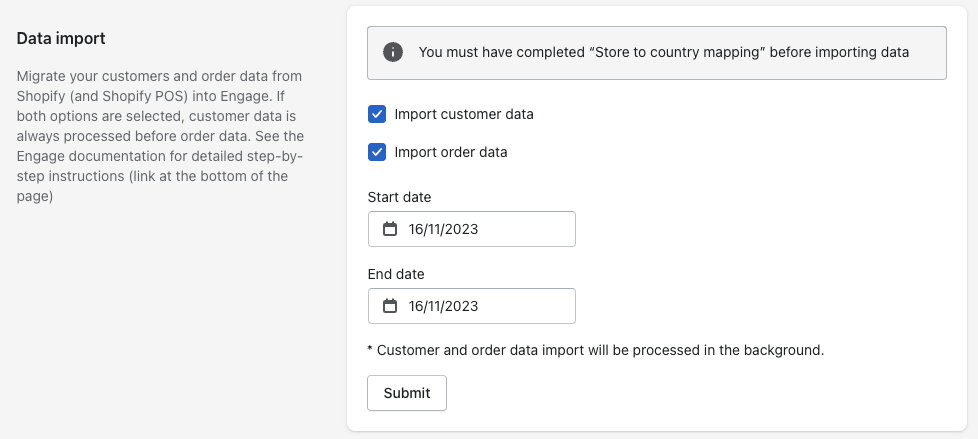
The order data option allows you to specify "Start date" and "End date". Then you will only sync those orders created inside that time window. Hit "Submit" to start the migration.
Note
When doing an order data migration, the app will process the data in this order: customer import first, and then the order import.
Warning
The migration of customers and orders can activate automations for those customers that exist in Engage. If you have automations set up to trigger on "New contact registered", "Product purchase" or "New return", you should deactivate these during this migration.