Adding stores in Engage
Whenever a new store opens, you'll need to add it in Engage to allow your customers to be linked to the correct recruited-in store or current store. Here's how to do that.
In Engage, go to Administration, then select Stores and Stores again.
On the Stores page select "Create store" in the upper right corner.
Fill in the fields. Required fields are Store, Time zone and External ID.
For Store just use the same field that's shown on the Store page where you started from.
The External ID is shown on the receipt and identifies the recruited-at or regular store. (The External ID is your store ID and is usually found in your ERP system.)
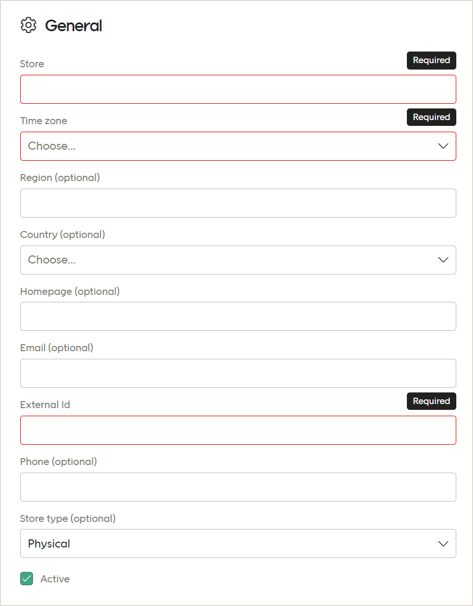
Ensure the "Active" checkbox is checked and then select "Save".
Change a store's External ID
A store’s External ID is used to connect imported receipts with that store. If you change a store’s External ID in Engage, but are still sending receipts using the old External ID, Engage will create a new store using that old External ID. That is not good.
To correctly change a store’s External ID the customer needs to stop sending receipts using the old External ID, then change the External ID value in Engage, and then begin sending receipts using the store's new External ID. Doing it this way avoids any issues.
Caution
Be sure, if changing a store's External ID, that you do it the way described above.