Domain authentication and email settings
Domain authentication is a vital part of setting up Engage. Sending emails from unauthenticated domains can result in your emails being blocked or considered spam like by the receiving domain.
Note
Make sure that you do the configuration in your production environment.
The Domains & email area
You should now see this interface. In the menu, select Domains & email:
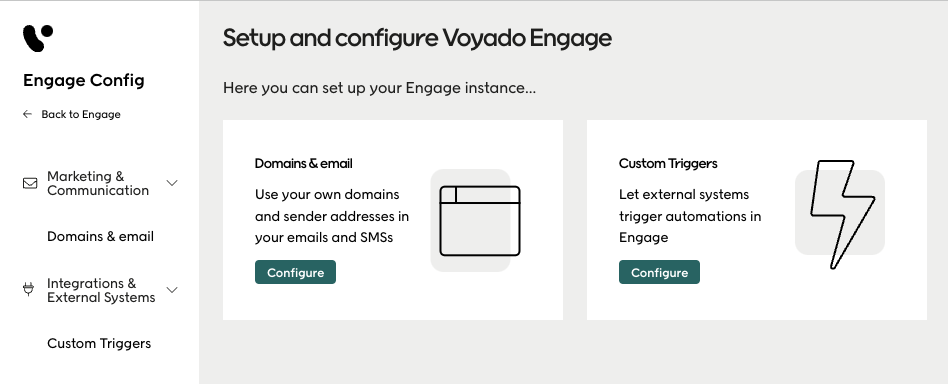
What you do next depends on if you've already configured this area, or if this is your first time here.
If this is your first time here
If no configuration has been done in this section before, here is what you need to do.
Domain verification
Important
Domain verification is only for the production environment, and not for staging.
Before you can start sending emails from Engage, your sender domain(s) must be verified.

Properly verified domains are required for send-outs from Engage. This also improves email deliverability.
To begin, select “Authenticate your first sender domain”.
Sender addresses
Important
Sender address configuration is only for the production environment, and not for staging.
A full email address, as shown in an email client, has a display name and an address specification.
Voyado <hello@news.voyado.com>
The address part, highlighted above, is what you enter here.
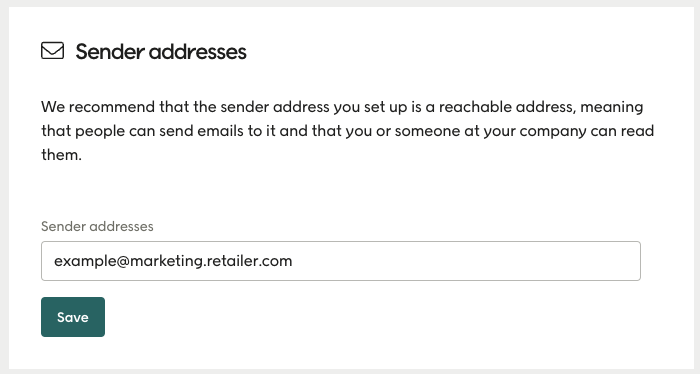
You should use your own sender domains for marketing communications, either a unique domain that's just for email marketing, or a subdomain of your main domain. We advise against using your main domain for email marketing.
We also advise against using a “noreply@” address as sender, and recommend that the sender address you do use is an active email address that is checked at least a few times a week. This is considered good practice for email marketing.
Note
All “Out-of-office” emails from recipients will be sent back to the sender address. For this reason, don't use an email address that is connected to a support ticketing system for this reason.
Sender names
Taking the previous example, the display name is the part before the address specification.
Voyado <hello@news.voyado.com>
This is the part you enter here. Use your branding/company name as the sender name.
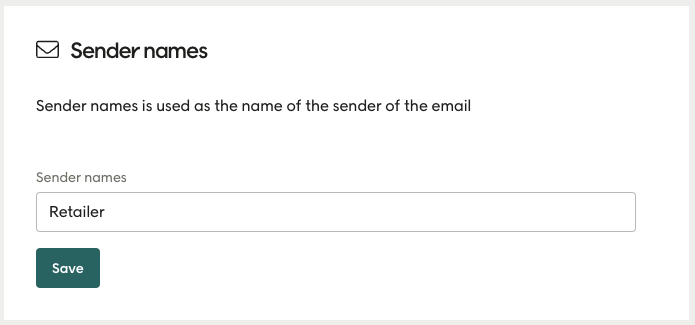
Also, avoid sender names that end with “.com” or other extensions.
So don't do this: Voyado.com <hello@email.voyado.com>
Do this instead: Voyado <hello@email.voyado.com>
Pause emails
The customer who receives an email might decide they want to opt out of future emails. There is an opt-out page where they can do this. However, on that page, the receiver can be given the chance to pause emails for a time instead of opting out completely.
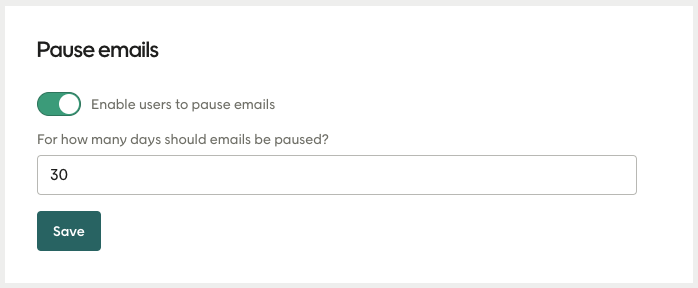
The setting above allows that option.
Enter domain to authenticate
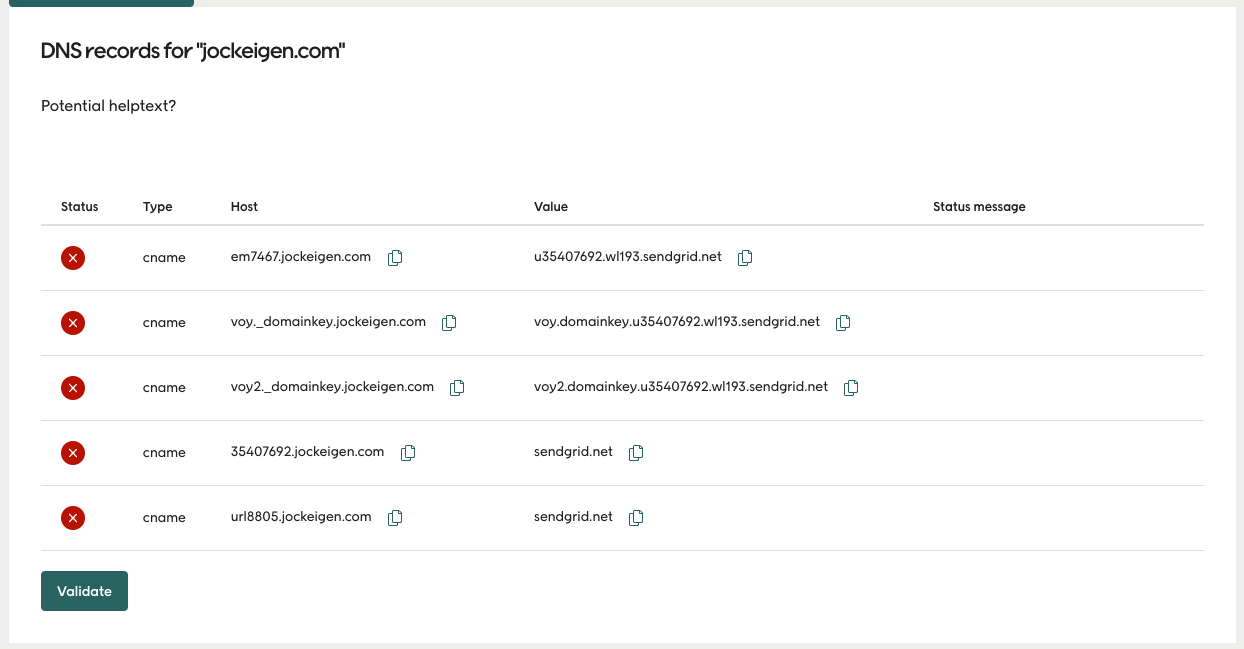
These settings need to be added to your DNS. Talk to your domain admin for assistance in adding them to your sender domain’s DNS. You can either copy them by hand (remember to include “Type, Host and Value”) or use the “Send to a co-worker” functionality as described below.
Send to coworker
Here you enter the email address of the coworker you want to send the DNS records to. Please note that you can only choose one email address at a time.
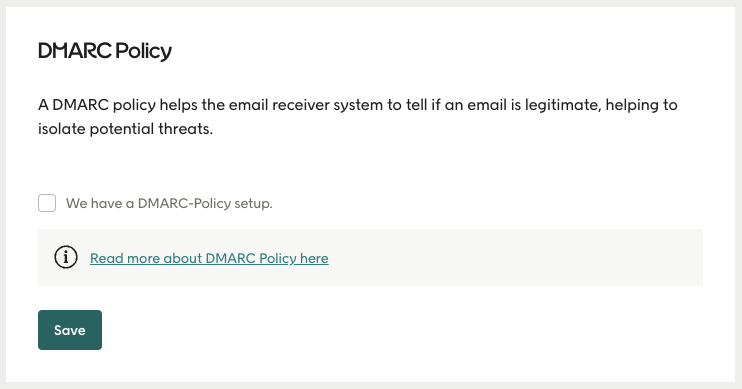
DMARC policy
A DMARC policy helps the email receiver system to tell if an email is legitimate. If an email doesn't come from an approved domain, the DMARC will alert the receiver system and tell them how to respond. This helps to isolate potential threats.
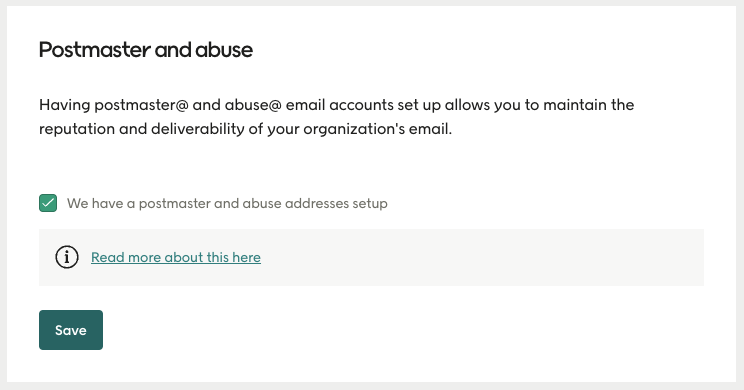
Postmaster and Abuse
The postmaster@ and abuse@ email accounts for your domain are important. Getting and acting on these email allows you to maintain the reputation and deliverability of your organization's email.
If you've already configured this area
Once initial configuration is done, you can return to this section in order to do several things.
Domain verification
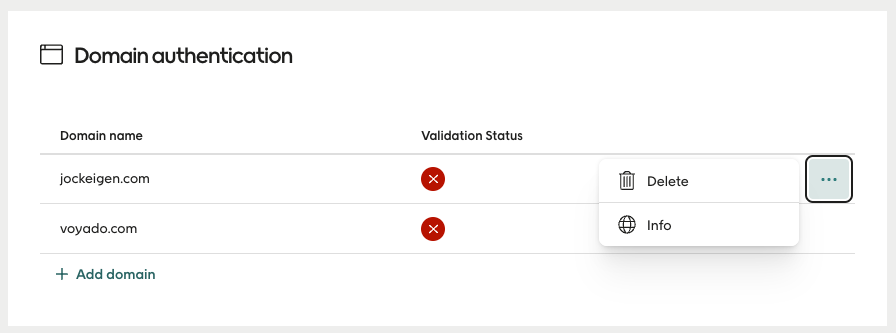
If you need to authenticate a new sender domain, select “Add Domain”.
To validate and verify the authentication settings for an existing sender domain, use the kebab menu (the three dots) next to that sender domain. This allows access to the DNS records.
DNS records
Here you can see the DNS settings for a domain and check that the settings are correct with the "Validate" function.
Sender addresses
This is a list of sender addresses available to use for your email communication from Engage. The one marked “Default” means that this sender is the default email user for all send-outs, unless:
You are sending out emails with different stores as the sender. In this case, the sender will be the same as for that store.
You choose any of the other senders in the sender menu when creating the email.