Importing opt-out email addresses
This is how to manually import a file into Engage containing the email addresses of contacts who have opted out of receiving email. Your file import needs to follow these rules:
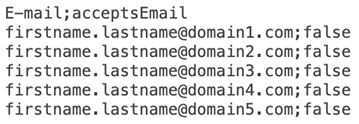
The file must be a CSV with one column named "E-mail" and one named "acceptsEmail"
The value of "acceptsEmail" in all rows needs to be "false"
The value in "E-mail" needs to be a correctly formatted email address
The values in each row must be semicolon (;) comma (,) or TAB separated
How to import
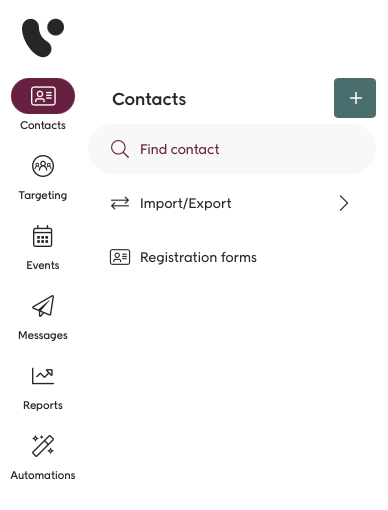
In the Engage frontend go to Contacts then Import/Export and then Import.
You'll now see this page.
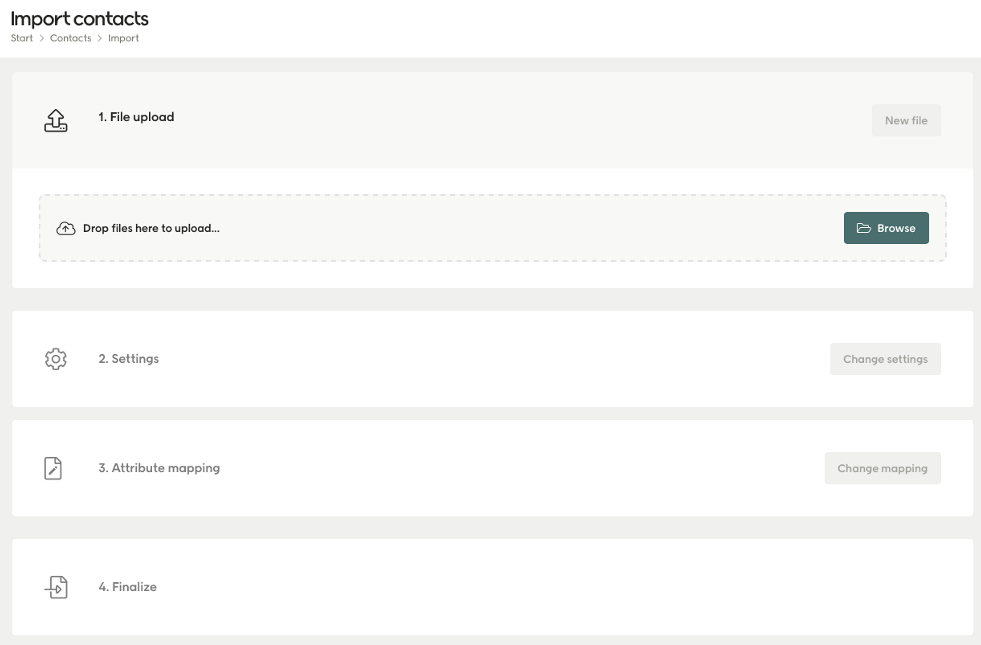
Now follow the steps below.
1. File Upload
Hit "Browse" and select your file. You can also drag-and-drop your file here.
2 - Settings
From the “Contact Type” dropdown choose "Member".
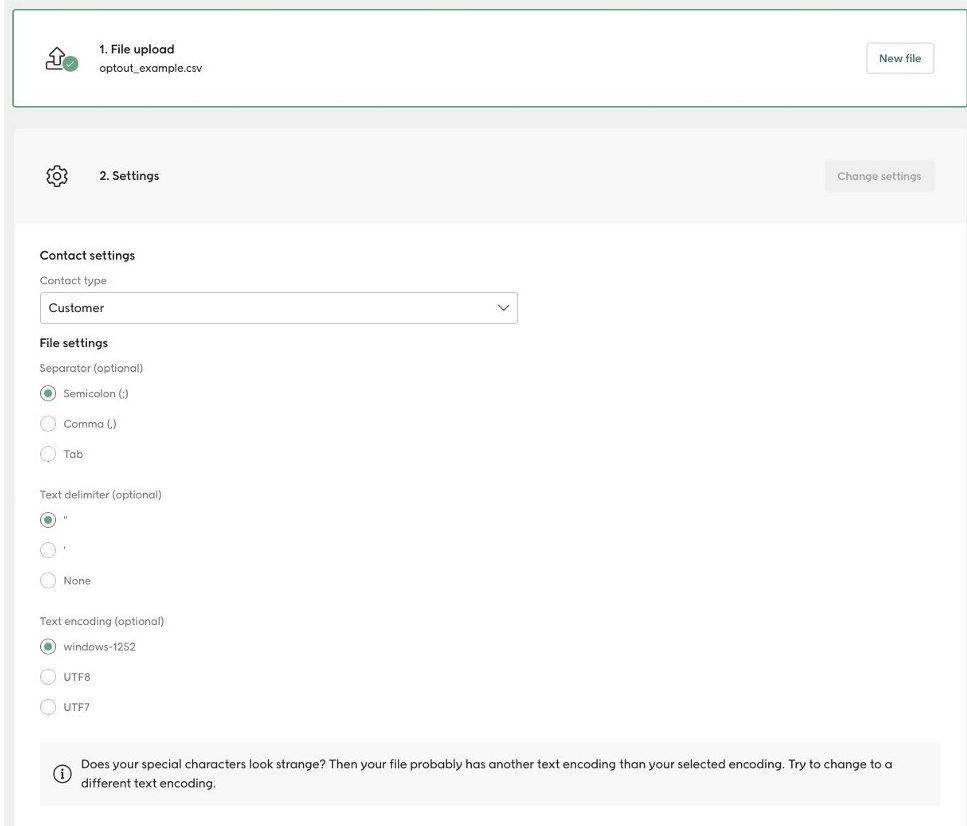
Go through the file settings to ensure that your file is correctly interpreted by Engage. If you only have the columns “E-mail” and “acceptsEmail” in your file and have used one of the allowed value separators, you shouldn’t have to change anything here.
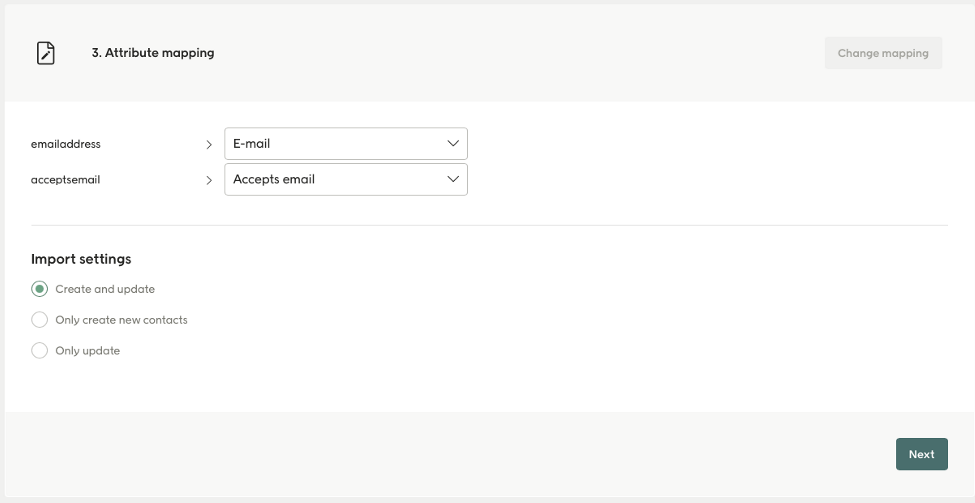
3 - Attribute mapping
Make sure the attributes (the columns in your file) are matched as you want them to be matched. If you've followed the formatting rules above, this should all be fine.
Import settings
Note that this import interface is for all types of imports and not only opt-out imports.
You are presented with the following three options.
Create and update
Only create new contacts
Only Update

“Only create new contacts” should not be used for your opt-out import.
Use "Create and update" if you're only importing new contacts, or a mix or old and new.
Use "Only update" if you're sure that you're only importing existing contacts.
4 - Finalize
Make sure that “Trigger automation 'New contact registered' for imported contacts" is unselected.
Now press "Import" to finalize the import.

The contacts with the email addresses you've imported will now have their "acceptsEmail" flag set to false. You're done!