Testing your email templates
This guide explains how to test your email templates to make sure they work as expected.
If you forward an email, the styling will break, therefore it's important to first do test send-outs to all your recipients from the email editor. Remember that an email address will first need to be allowlisted so that the staging environment can send emails to it. Below are the steps to take when testing your template.
First of all, create a new email send-out. Do this as if you were creating a real send-out to your customers.
Confirm that all buttons, headers and texts in the send-out have the correct font and colors.
Check that all links, menus and default texts are correct for all the languages you are using. Use “Send as specific store” to populate the email with the correct translations and links.
Confirm that everything under the "Appearance" tab works as expected. For example, is your color library correct?
Toggle ON and OFF a few elements to check that they are working.
Fill out your text blocks with longer texts, which makes it easier to see if your margins behave as expected.
Fetch products into those modules with names ending in "PF" by using the product's SKU in Shopify (comma-separated if using multiple products in the same module). Confirm the correct product info is shown in the correct columns.
Test how send-outs behave in the web browser and in email clients, for both desktop and mobile devices.
Create and send emails for each translation/market you want to communicate with. Use “Send as specific store” to populate the email with correct translations, product feed and links.
Here are additional steps to take depending on if you are using abandoned cart, abandoned browse, order-related emails and/or double opt-in. Go through all of these steps that apply to your situation.
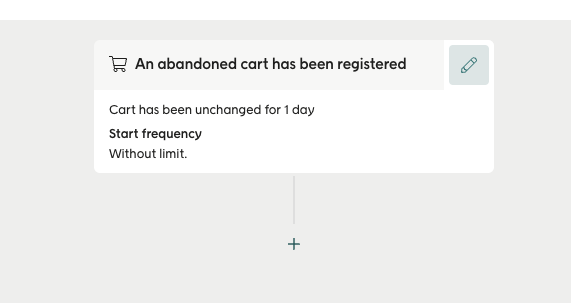
Create a new automation with the "Abandoned cart" trigger.

Change the entry criteria to "Immediately" so that it says: "Cart has been unchanged for 0.5 hours" in the automation.

Add a "Send email" activity in the automation. Create a new email. In the email editor, add the module "AC01 Abandoned-Cart" to the email and save it.
Save and activate the automation.
Go to your webshop using incognito mode and log in as a customer. Add something to your cart and then exit your webshop.
Within an hour you should have received an abandoned cart email. Confirm that it contains the correct products in the correct quantities.
Tip
For more help with troubleshooting abandoned cart, see here.
Create a new automation for abandoned browse.
Add a "Send email" activity in the automation. Create a new email. In the email editor, add the module: "AB01 Abandoned-Browse" to the email and save it.
Save and activate the automation.
Go to your webshop using incognito mode and log in as a customer. Browse around, click on a product and then close the tab.
Within an hour you should receive an abandoned browse email. Check that it contains the correct products.
Tip
For more help with troubleshooting abandoned browse, see here.
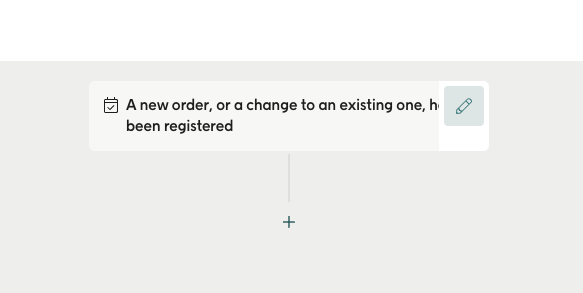
Create a new automation with the trigger “New or updated order”.
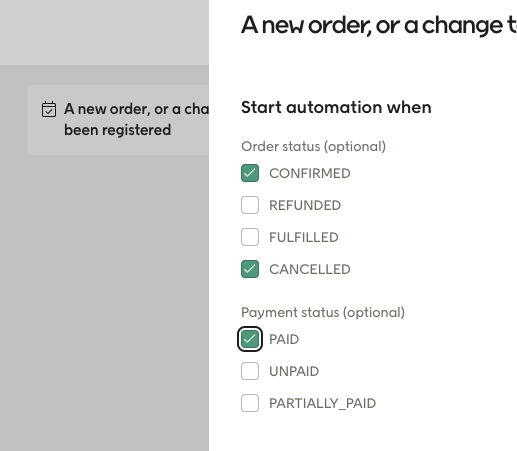
Change the entry criteria for the trigger so that it includes the Shopify statuses you want to use to trigger the Engage automation.

Here you can see the statuses:

Add a "Send email" activity to the automation. Create a new email. In the email editor, add the modules: “T01 Order Header”, “T02 Order Contact”, “T03 Order Items”. Save the email.
Save and activate the automation.
Go to your webshop and place an order.
Confirm that the email you receive shows the correct data.
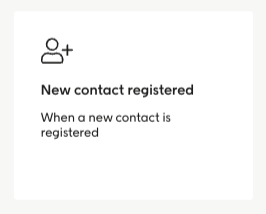
Create a new automation with the automation trigger “New contact registered”.

Add a "Send email" activity to the automation. Create a new email. In the email editor, add the module: “D01. Double Opt-in".
Save and activate the automation
Go to Your website and create a new account (make sure that the email address you enter for your new account is allowlisted in Engage).
Click on the Double Opt-in button in the email you receive.
In Engage, find the contact you just created. Make sure that the consent “newsletterConsent” has been set to true for them.
Here's some things that are up to you to check when working with email templates:
Test emails ending up in your junk inbox. Since testing is done in a test environment, be aware that this could happen.
The structure in the module breaking because of words used being too long.
How emails look and behave in dark mode. There is a guide for how to think about design optimized for dark mode, for example using backgrounds for dark logotypes or by using frames for certain elements. See the link at the end of this section.
Your font not being supported for all web browsers and email apps. This problem can be worse if your preferred font and fallback font differ a lot in terms of size.
The length of the text fetched from your product feed. It’s up to you to check this.
The size and aspect ratio of your images taken from your product feed.
Regarding dark mode, there are no official fixes for dark mode in email clients. We strongly recommend that you design with this in mind, using logos and icons that work for both dark and light mode. This way your email will work in all email clients, and there won't be any problems if there are any updates or changes to how the email clients read dark mode code.
You can read more about dark mode here.