Setting up the custom trigger
You'll need to create a custom automation trigger to use the Lipscore integration with Engage. This trigger can be set up in the Engage configuration area. Once you have access to the configuration area, follow the steps below.
Select “Create custom trigger“.
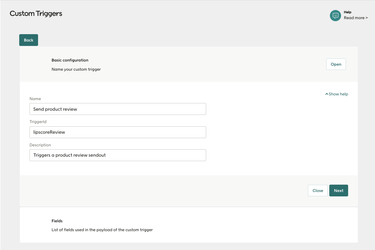
Enter Name, TriggerId and Description for your custom trigger.
Name: A human readable name, show in the Engage UI
TriggerId: The unique ID for this custom trigger
Description: A summary of what the trigger is used for
Important
It's important that TriggerId and Name here are correct.
Select "Next".
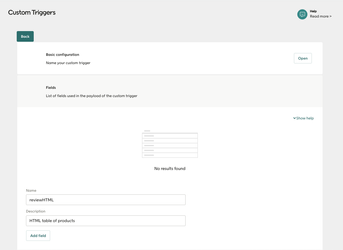
Now you will add the fields that Lipscore will send in the payload request. For each one, select "Add field" and then enter the Name and Description as in the table. Press "Save" after each one.
Name
Description
reviewHTML
Products to review
type
Type of sendout, either productReview or serviceReview
language
Language from Lipscore (as ISO 639)
Your custom trigger should now show up on the list of triggers available when you create a new automation in Engage.